Showing posts with label Saturday Scoffs. Show all posts

Saturday 5 October 2013

Saturday Scoffs | Banana Muffins


Hello cupcake!
Today's scoff is 'Banana Muffins'. I never really cook with fruit so todays cupcakes are a bit different from what I usually bake. They tasted delicious though...

What you need | Ingredients
200g plain flour,
1 tbsp baking powder,
1 tsp bicarb,
1/2 tsp salt,
3 bananas, mashed,
150g caster sugar,
1 egg,
75g butter, melted

Icing 
Vanilla essence
280g Icing sugar
140g Butter

How To Make | method
Preheat oven to 180. Put paper cases in a muffin tray. Sift together flour, bicarb, baking powder & salt. Set aside.
Combine mashed banana, sugar, egg and melted butter in a large bowl. Fold in the flour mix and stir until smooth.
Spoon into muffin cases. Bake until golden (25mins). 
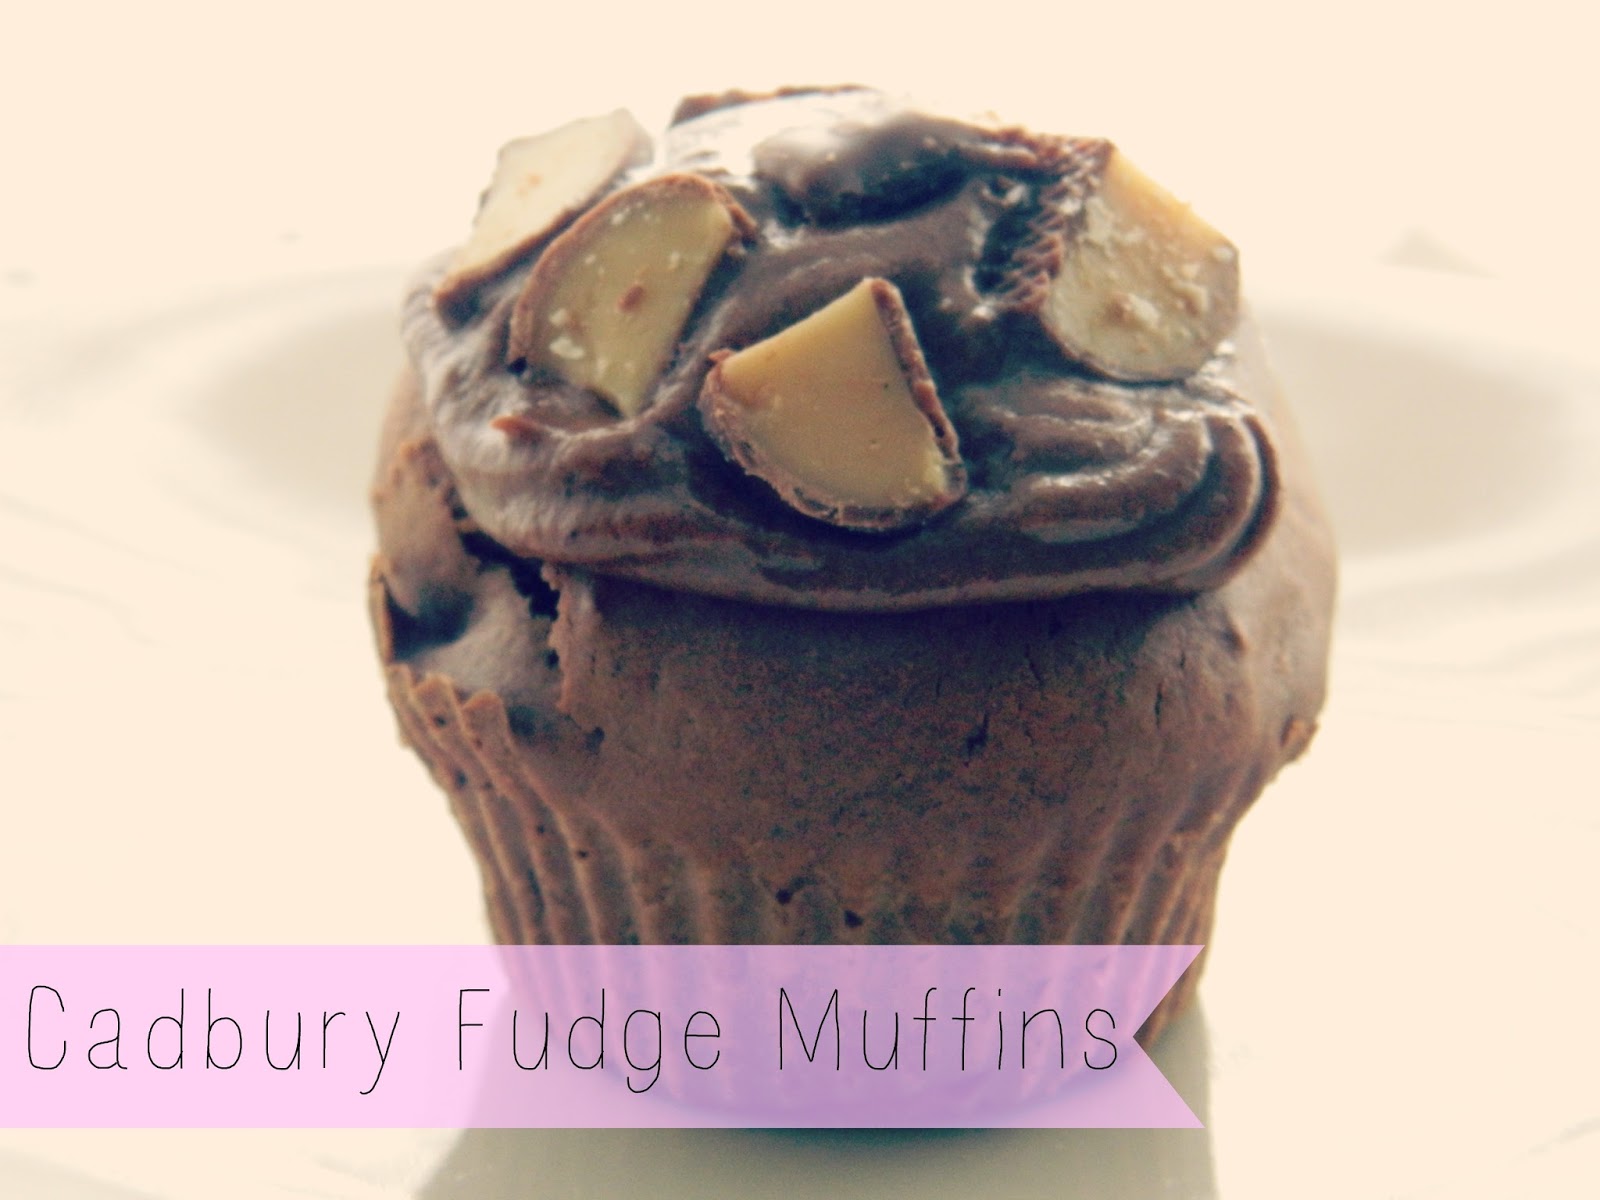
After, mix all the icing ingredients together, pipe onto muffins when cool and add dried banana chips ontop for decoration and sweetness.
Enjoy!

XO
Zofia.

Saturday 21 September 2013

Saturday Scoffs | Cadbury Fudge Muffins


What You Need | Ingredients 
2 Cadbury Fudge Bars
100g Soft Margarine
100g Soft Brown Light Sugar
2 medium eggs
100g Self Raising Flour
1tsp Baking powder
50g Butter
2tbsp Milk
225 Icing Sugar
Cocoa Powder

How To Make | Method 
    Preheat the oven. Mix the Butter, Brown Sugar and eggs in a medium size bowl. Make sure everything is mixed well, non lumpy. Then, mix the Powders with a fork in another bowl to decreate lumps. Then, Mix the liquid mix into the powder mix using a handheld whisk. Add the cocoa powder and mix again. Put in muffin trays and make until risen/ 10/15 mins.
    Wait until cool, add the butter, icing sugar and milk into a bowl and mix until light and creamy. Then, add the cocoa powder and mix. Icing should be light, but not runny...quite like a buttercream. It can be runny but make sure it doesn't run off the cake.
    Then, add your Fudge pieces on the top and enjoy!
If you decide to create these cakes, please feel free to show me pictures! @lilmisspradaxo.
XO

Saturday 24 August 2013

Saturday Scoffs | Easy Chocolate Butterfly Cakes


Hello gorgeous!
Today, I'm doing another 'Saturday Scoffs' post. I love doing these and I hope it gives you some recipe inspiration!
These cupcakes are really easy but really pretty too. 

What You'll Need | Ingredients 
110g (4oz) butter or margarine 
110g (4oz) caster sugar 
2 medium size eggs 
75g (3oz) self-raising flour - sieved 
25g (1oz) cocoa powder - sieved 

For The Icing |
75g (3oz) unsalted butter 
175g (6oz) icing sugar 
3 tbsp cocoa powder 
milk or warm water

How To Make | Method
1. Pre-heat oven to 180ºC/350ºF/Gas Mark 4. Place the Baking Cases into a bun tin.
2. Cream together the butter and sugar until light and fluffy.
3. Gradually beat in the eggs, if the mixture starts to curdle, add a little flour.
4. Fold in the remaining flour and the cocoa powder with a metal spoon.
5. Place spoonfuls of the mixture into the baking cases and bake for 15 - 20 minutes until well risen and firm to the touch. Remove from oven, leave to cool on a cooling rack.
6. Take a sharp knife and cut a circle out of the top of each cake at an angle about 1cm (½ inch) from the edge.
7. Cut each circle in half and set aside.
8. To make the butter icing, place the butter in a bowl and beat until soft. Gradually sift and beat in the icing sugar and then add enough milk / water to make the icing fluffy and spreadable.
9. Sift and beat the cocoa powder in to the icing and spread onto the cakes.
10. Place the two halves of cake on top to resemble butterfly wings.
11. Dust the top of each cake lightly with the sieved icing sugar.

I hope this recipe was easy for you, if you bake some butterfly cakes, tweet me pictures (@lilmisspradaxo) or comment below with links! 
Happy Baking!
XO

Saturday 10 August 2013

Saturday Scoffs | Cinnamon Sugar Puff Pastry Rolls


Hello girls! Today I've decided to post about Cinnamon Sugar rolls. These are excellent if you decide you're in the mood for something sweet, but don't really have everything to make a cake, or a cookie. These are so simple and they only use 1 ingredient and some cinnamon sugar! Brilliant! 

What You'll Need | Ingredients
2 Tablespoons Butter
150g Sugar
Cinnamon (Choose the amount you want to go into the sugar. It's up to you and how much you like Cinnamon!)
1 Sheet Puff Pastry. I buy JusRol so that's a heads up!

What To Do | Method
Get everything ready, get your oven set to 190c (Do this now if you don't have a fan assisted oven) and remember to have some space for the pastry!
Line a baking tray with foil. Place the butter into a small saucepan on medium heat and melt. I suggest you keep stirring while it melts or it sometimes has a habit of sticking. Then, in a small bowl, mix the cinnamon and sugar together to make cinnamon sugar. Sprinkle some, not all of the sugar onto the work surface. Unfold the pastry from its packaging onto the sugar with the short side of the pastry facing you. Then, with the remaining sugar, sprinkle that ontop of the pastry that's facing you. Using the rolling pin, roll out the pastry. Begin at the center and roll out to the far end. Then, roll out to the center towards you until everywhere becomes equal. Keep sprinkling with more sugar, you may need to make a bit more depending on how much you've added already. Use a pastry brush to brush the melted butter ontop of the pastry/cinnamon mix. Then, roll up the pastry. The finished product should look a bit like a 'Swiss Chocolate Roll'. Then, if you do have a fan assisted oven, turn it to 190c.
Place the roll, seam side down, on the work surface. Using the knife, cut the roll into sections to make smaller rolls. Then, place the smaller rolls onto the baking tray and cook until deep, golden, brown. Usually takes 10-12 minutes. After, leave to cool for 15 minutes before serving. Enjoy! 

Saturday 27 July 2013

Saturday Scoffs | Soft, Chewy, American Cookies


Hello everyone and welcome to my new series! As you know, if you've followed me since the start, I used to do 'What I ate Wednesday posts' with savoury (dinner) or cupcake posts. After a few weeks of doing this, I realised that the posts weren't really that good and so I've decided to do another series but no dinner posts containing savoury items.. I've decided to keep with the cupcakes, cakes and baking items.
Baking is a big love of mine. It's what fills most of my weekends and I love trying new recipes. I've been planning on doing this since April time so it's been very much anticipated but because I've planned my blog post schedule out, I couldn't fit it in until today, which shows how fast this year's gone. 
I wasn't sure how to format these posts. Either take step by step pictures and the finished product or take a picture of the finished product and type out a step by step guide. I decided the second option would be a lot better!
I hope you enjoy these posts as much as I like doing them. Without further ado, here's some American cookies for you to enjoy!

What you'll need | Ingredients
140g Plain Flour
1 1/4 teapoons of baking powder
1/4 teaspoon salt
55g butter
115g brown sugar
100g sugar
1 egg
3/4 vanilla extract
170g chocolate chips

How To Make | Method
First of all, get all your ingredients ready and your equipment - this way, you're organised! Also, if you don't have a fan assisted oven, preheat your oven at 180c. Then, line a baking tray with greaseproof paper, just so they don't stick..if not, they're a pain to get off the tray!
In a small mixing bowl, combine flour, baking powder and salt. Just do this with a fork to make sure all the powders are blended evenly. Set this aside and get yourself a larger mixing bowl. In this bowl, combine everything else apart from the chocolate chips. For this, I always use an electric whisk as it really blends everything together and leaves no unwanted lumps. I suggest putting the whisk on a medium level because you don't want the cookie mix to become runny. When you have quite a cookie dough consistency, pour in the choc chips. Mix the chips with the dough using a fork, spatula, wooden spoon but don't use the whisk...this will end up chopping the chocolate into finer pieces and it'll disappear. At this point, if you have a fan assisted oven, this is the time to turn it on to 180c. Using a tablespoon, spoon amounts onto the baking tray and leave the dough on the tray in 'mound' shapes. Do not flatten, once cooked, the cookies do this their selves. Remember to leave enough space between each incase they expand tooo much into eachother. Place them into the oven until golden and until a skewer comes out clean. This usually takes around 10-15 minutes. Then, when cooked, pop them on a wire rack to cool. These cookies store in an airtight container for around 1 week. Enjoy!  

Related Posts Plugin for WordPress, Blogger...